Beast of Reincarnation: Enemy Lair Locations & Interactive Tracking Guide
Enemy Lairs in Beast of Reincarnation are the marked strongholds where golems cluster, and the Ogouchi Buffer Zone holds ten of them. Six sit on the surface, three are underground Subcities you have to open with a metal wheel, and most guard an Elite Enemy sitting on a strongbox code.
All are fully documented and visible on our Beast of Reincarnation interactive game maps.
Fight Lair Golems From High Ground
The single most useful habit for clearing a lair.
Golems patrol in groups, and engaging them at ground level pulls several at once. Take the high ground first — Emma's hair grapple gets you onto roofs, ledges and rock formations — then pick them off individually as they pass beneath you.
The Subcity 01 Entrance is the clearest example: six patrolling golems, all far more manageable dropped on from above than fought in the open.
Emma's hair also doesn't have to extend in a straight line. Turn it around a corner while ascending, and you get a free midair platform, which opens vantage points that look unreachable.
Three Ogouchi Lairs Are Underground Subcities
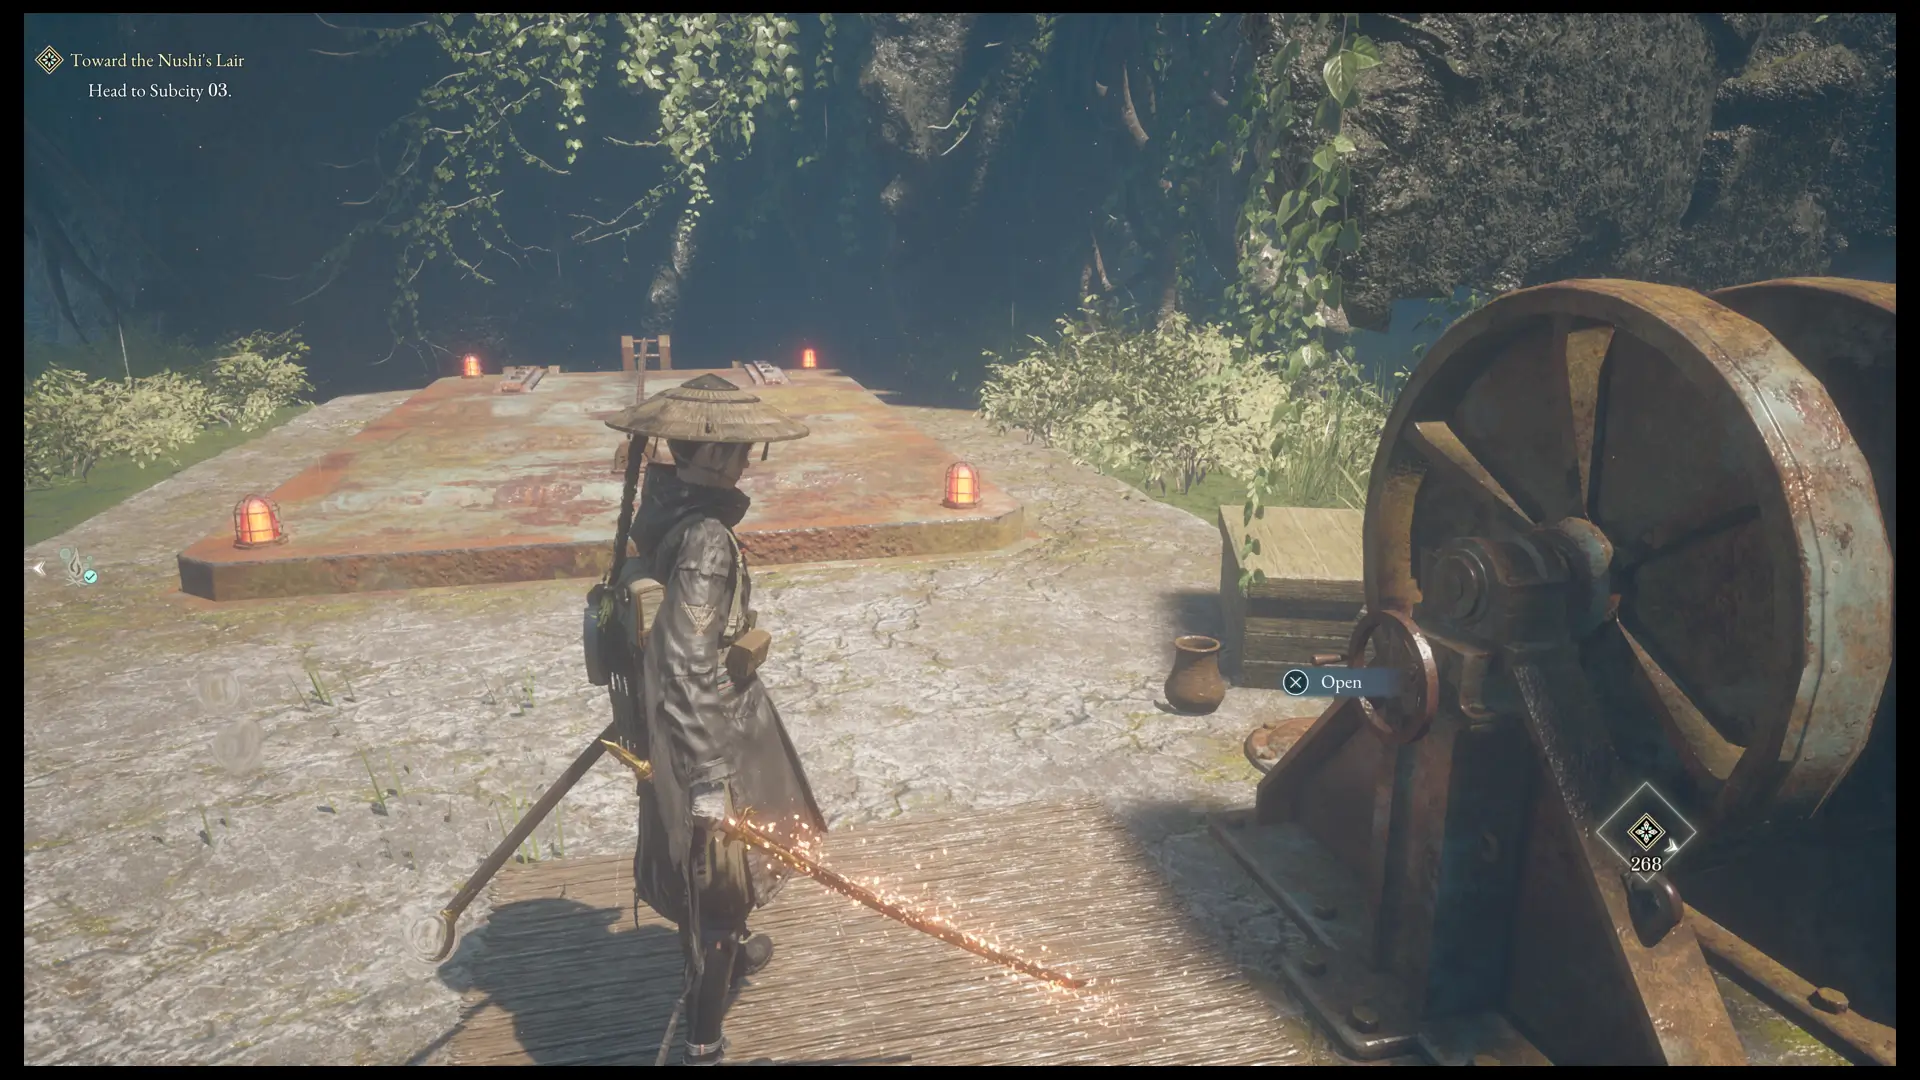
Subcity 01, 02, and 03 all work the same way. Find the large tent, locate the large metal wheel beneath it, and rotate it to reveal the trapdoor. Descend from there.
They differ in what they're for.
Subcity 01 is where you're sent looking for the foreman — it's story-mandatory, and the Elite behind the first locked door has to die before the storage room opens. It also holds a Strongbox with a button sequence rather than a code: Left, Up, Up, Down, Right, entered before the timer runs out.
Subcity 03 is on the route to the Nushi's Lair, roughly 640 metres from the Cleanse Walker, and it's where you meet the golem that hands over the Red Key.
Subcity 02 in the northwest is entirely optional — worth clearing for the loot rather than the story.
Underground sections are fairly linear, so there's little risk of getting turned around once you're down there.
Lairs Guard Elite Enemies and Strongbox Codes
Most Ogouchi lairs hold an Elite, and most of those Elites drop a five-digit code.
Disposal Site — code 04180. Cliffside Village — code 08110, with the Elite on the upper balcony of the western facility.
Worth knowing before you commit: codes are identical in every playthrough, so you can enter them and skip the fight if you're underlevelled. That said, all 34 Elites count toward the Wandering Duelist trophy, so you'll be back.
Ruined Tower is the exception worth prioritising — its Elite guards a Keeper Golem in the tent behind him, and there are only 30 in the entire game.
Clear a Lair for Cleanse Walker Materials
Lairs are the best place to farm the components that lift your damage ceiling.
Golems drop Memory Chips, Electronic Brains and Generator Devices — the three skull-shaped items that raise the Cleanse Walker's Bauera ranks. The shielded golem beside a tent in Subcity 01 holds an Electronic Brain specifically.
And since resting at a Camp respawns enemies but not loot, a lair near a campsite becomes a repeatable farm. The Strongbox inside is one-time; the golems around it aren't.
All 10 Ogouchi Enemy Lairs
Surface lairs: Abandoned Village in the south, visited right after the prologue and holding a Red Key-locked door. Disposal Site northeast of it. Tailwater Village to the east. Quarry in the west, east of the Quarry Path campsite.
Cliffside Village in the southwest. Ruined Tower north of River Fork campsite. Lookout Shack on the northeastern hill — story-related, and the only lair here with no Elite Enemy.
Underground: Subcity 01 in the centre, Subcity 02 in the northwest, Subcity 03 in the north.
You Don't Have to Clear Every Lair
Worth saying plainly. Lairs are marked so you can decide whether to fight or route around, and only Subcity 01, Subcity 03, Abandoned Village and Lookout Shack are tied to the main quest.
Nothing is missable. A lair you skipped stays exactly where it is, and the Platinum requires a second playthrough anyway. Clear them when you want the materials, not because the icon is there.
| Name | Map Location | Details | Screenshot | Found |
|---|---|---|---|---|
| Abandoned VillageOgouchi Buffer Zone | Ogouchi Buffer Zone | Abandoned Village is a key location and an enemy lair. It is found on the southern side of the Ogouchi Buffer Zone, and you'll get to visit it after the prologue. | ||
| Disposal SiteOgouchi Buffer Zone | Ogouchi Buffer Zone | Disposal Site is an enemy lair in the Ogouchi Buffer Zone. It is located northeast of the Abandoned Village, and it features multiple foes, including an Elite Enemy. | ||
| Tailwater VillageOgouchi Buffer Zone | Ogouchi Buffer Zone | Tailwater Village is an enemy lair on the eastern side of the Ogouchi Buffer Zone. | ||
| Subcity 02Ogouchi Buffer Zone | Ogouchi Buffer Zone | Subcity 02 is an optional location and an enemy lair. It is found in the northwestern area of the Ogouchi Buffer Zone. The Lair is underground, and you can access it by rotating the large metal wheel under the large tent, thus opening the trapdoor leading to the lair. | ||
| QuarryOgouchi Buffer Zone | Ogouchi Buffer Zone | The Quarry is an enemy lair in the western Ogouchi Zone. It is located east of the Quarry Path Campsite, and it features multiple foes, including an Elite Enemy. | ||
| Cliffside VillageOgouchi Buffer Zone | Ogouchi Buffer Zone | Cliffside Village is an enemy lair in the Ogouchi Buffer Zone. It is located on the southwestern side of the Buffer Zone, and it features multiple foes, including an Elite Enemy. | ||
| Subcity 03Ogouchi Buffer Zone | Ogouchi Buffer Zone | Subcity 03 is a key location and an enemy lair. It is found in the northern area of the Ogouchi Buffer Zone, and you'll get to visit it on your way to Nushi's Lair. The Lair is underground, and you can access it by rotating the large metal wheel under the large tent, thus opening the trapdoor leading to the lair. | ||
| Lookout ShackOgouchi Buffer Zone | Ogouchi Buffer Zone | Lookout Shack is a key location and an enemy lair. It is found on top of the northeastern hill in Ogouchi Buffer Zone, and you'll get to visit it while following Emma's story. There are no Elite Enemies at this location. | ||
| Subcity 01Ogouchi Buffer Zone | Ogouchi Buffer Zone | Subcity 01 is a key location and an enemy lair. It is found in the central area of the Ogouchi Buffer Zone, and you'll get to visit it while looking for the foreman. The Lair is underground, and you can access it by rotating the large metal wheel under the large tent, thus opening the trapdoor leading to the lair. | ||
| Ruined TowerOgouchi Buffer Zone | Ogouchi Buffer Zone | Ruined Tower is an enemy lair in the Ogouchi Buffer Zone. It is located on the eastern side of the Buffer Zone north of River Fork Campsite, and it features multiple foes, including an Elite Enemy. | ||
| Maze of SinThe Great Wall Terraces | The Great Wall Terraces | The Maze of Sin is a landmark and an Enemy Lair located in the southeastern corner of the Great Wall Terraces area. To get inside, shoot the explosive jar by the weak wall at the entrance. The lair features multiple rewards and an Elite Enemy. | ||
| CavePilgrim's Zone | Pilgrim's Zone | The Cave is an enemy lair in the Pilgrim's Zone. It is located on the southeastern side of the region, and it features multiple foes, including an Elite Enemy. | ||
| Stone ChamberPilgrim's Zone | Pilgrim's Zone | Stone Chamber is a key location and an enemy lair. It is found in the middle area of the Pilgrim's Zone, and you'll get to visit it as you progress the story. The Lair is in some ruins, and you can access it after passing through the cave. | ||
| BelfryPilgrim's Zone | Pilgrim's Zone | Belfry is a key location and an enemy lair. It is found in the northern area of the Pilgrim's Zone, on the other side of the broken bridge west of the Belfry Entrance Campsite. | ||
| Matsukawa ZoneMatsukawa Zone | Matsukawa Zone | Matsukawa Zone, or the Matsukawa Colony, is one of the largest Enemy Lairs in the game. It is found in the central Matsukawa Zone, and you'll have to explore it while working on progressing Emma's story in the 5th area of the game. |

© MapMaster.io 2024. All rights reserved.